- date
11 July 2022
- tag
How to
Pictures section
When you’re attaching Astrata Slats to a wall, it’s very quick and easy to install the beams by mounting them on a backing panel in the workshop beforehand. For an even sleeker result, use a concealed, uneven overlap: leave exactly half the width of a slat plus the required spacing on 1 side. Then mount the wooden slats with the correct spacing and your final slat will automatically be positioned in the middle of a beam. In the space you have kept free, it’s easy to insert screws in the back panel to attach it to the underlying structure. When you fix the next panel, the joint will be neatly concealed behind the protruding beam. Incidentally, you can fix it using glue or a dowel
Consciously choose the look of the core or base plate for a pleasing and consistent aesthetic appearance. For instance, you can combine Astrata Slats in Ivory Oak with a base plate in Ivory Oak for a uniform effect. A black base plate will create a completely different feeling. The bold colour contrast will make the lines of the slats appear more prominent. This is something you should take into account as it has an impact on the overall look of your interior.
With freestanding panels and wall panels, you can avoid direct contact with the floor by using a plastic sheet. In this way, humidity and water, for instance from mopping, do not get a chance to impair the panels. If you place the panels on a sheet with a thickness of around three millimetres, it will remain firm and dry.
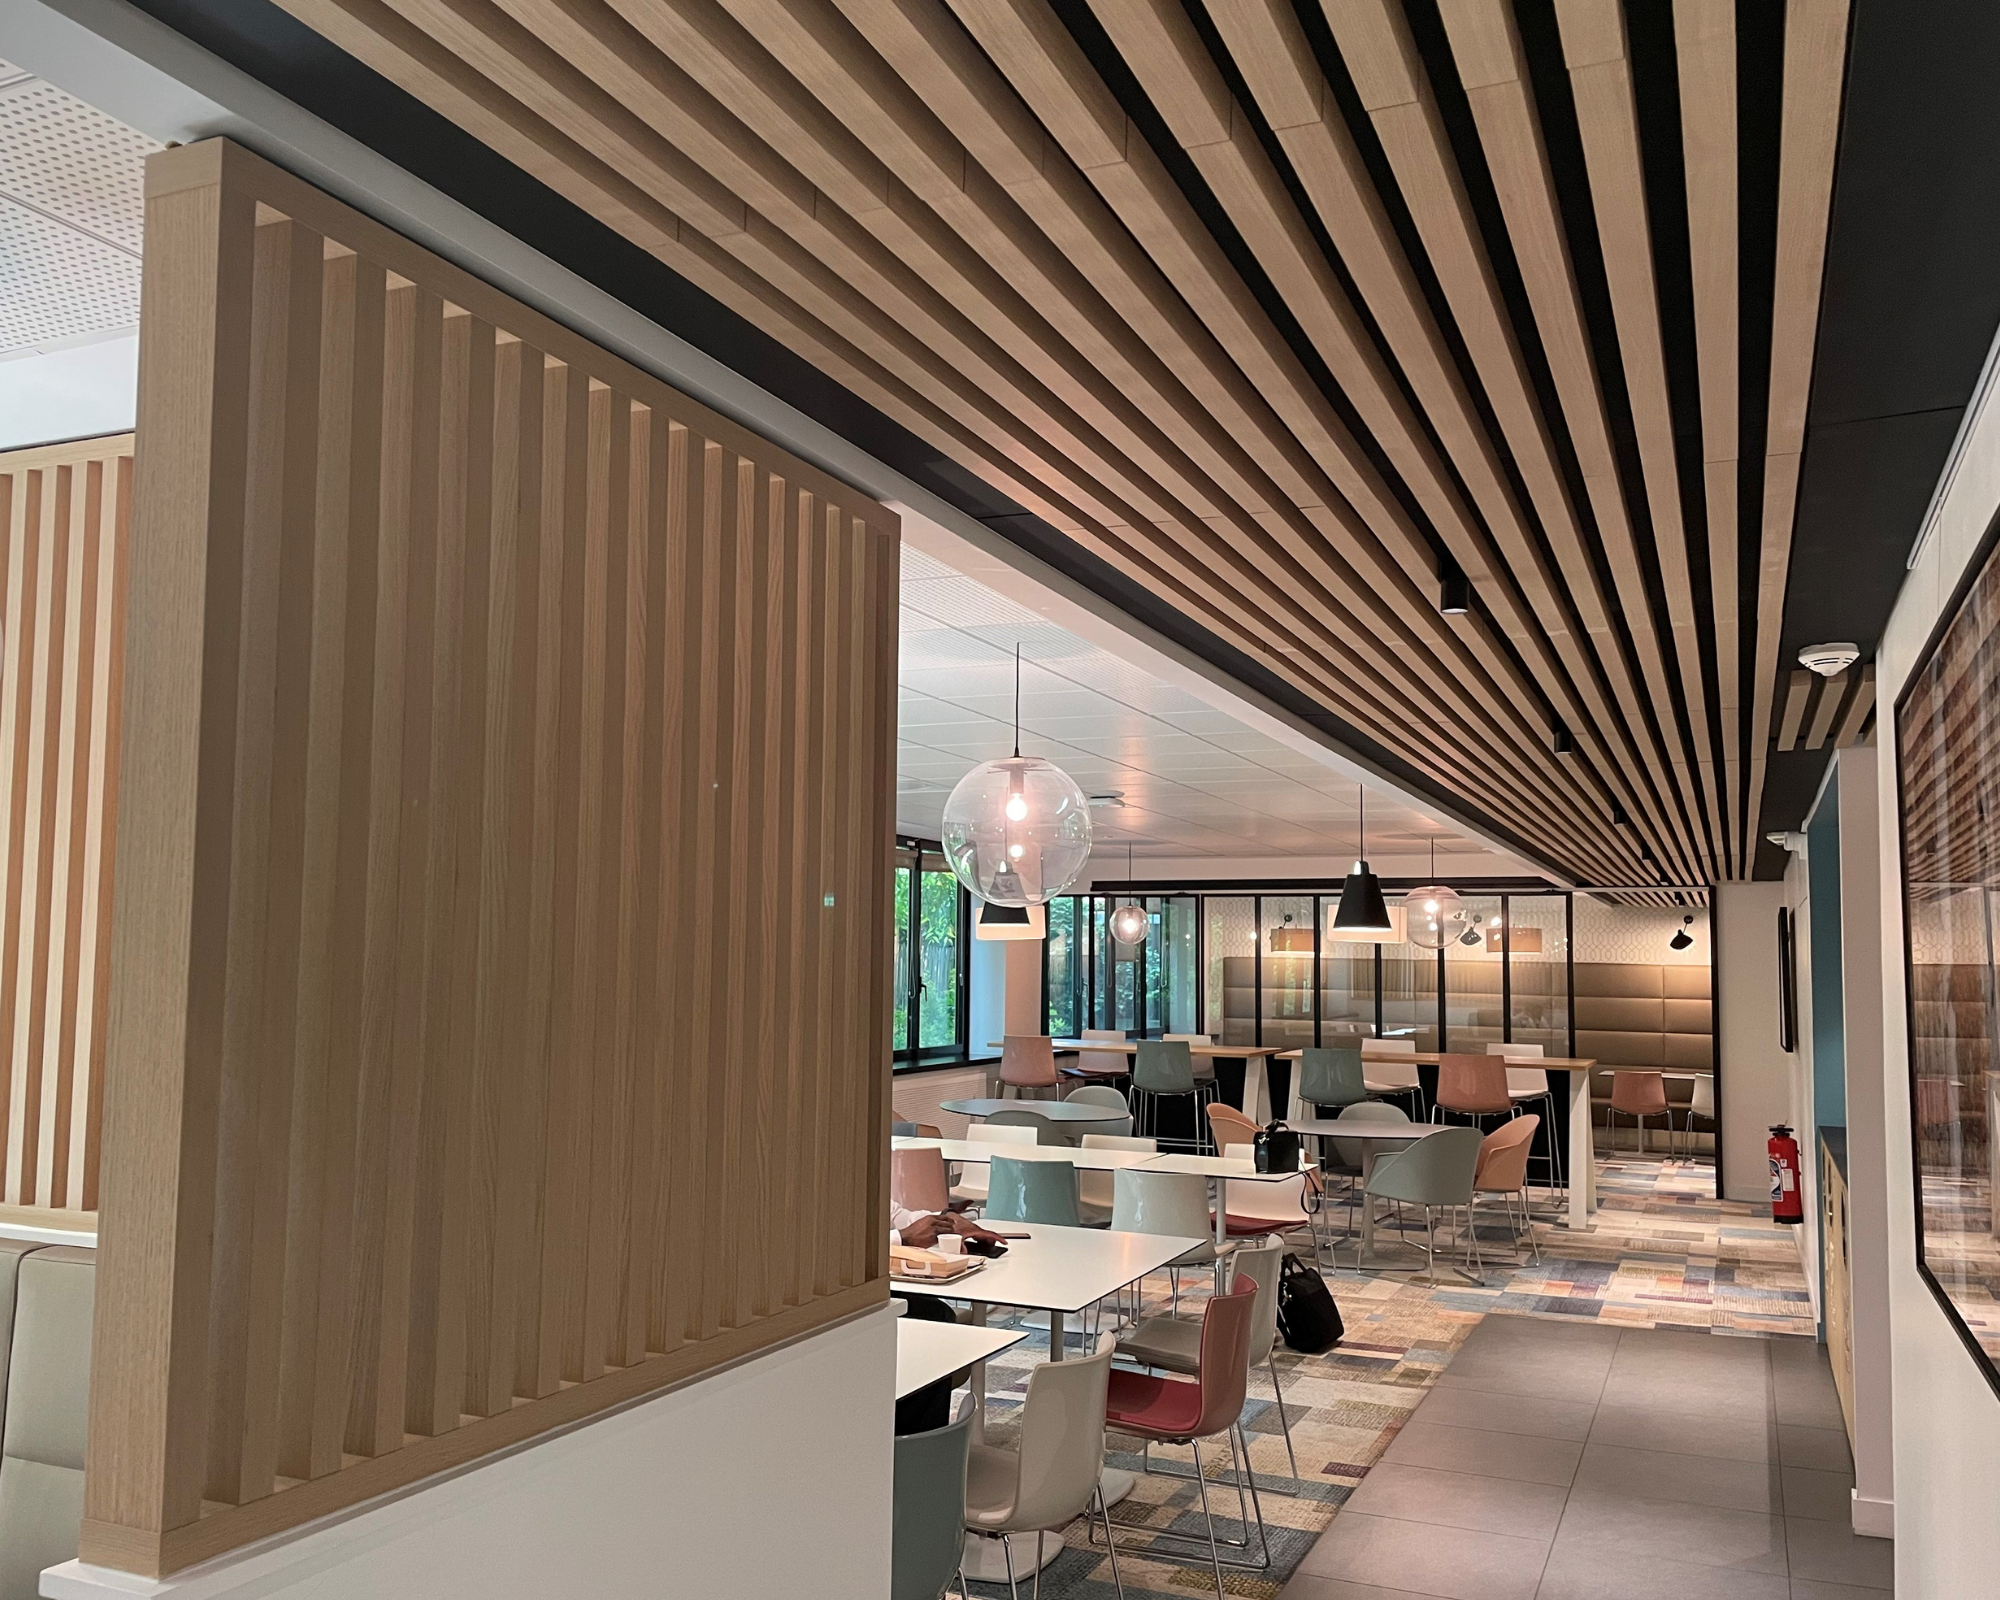
Combine different slats or Astrata Slats with different shapes. Arrange them in an irregular pattern to create a 3D dynamic in your interior. This lets you create a real ‘statement wall’.
You can get a special and exceptionally atmospheric effect by invisibly fitting LED lights behind the slats. Create a groove in the back and slot in an LED strip. It will look as if the light is coming from the slat.
You can choose finished wood slats for your wall or wall covering that are ready to use for quick installation, but there are also advantages to using the unfinished version. You can finish them yourself in your preferred shade, so that they are perfectly incorporated into your personal concept. It’s easy to spray the unfinished slats with a stain on three or four sides, or finish them with wood oil. Next combine them with panels in Querkus Allegro, for instance, to finish the walls or designer furniture. By applying a stain or oil in the same colour, you will get an even, harmonious effect.
Here’s a creative idea: saw a 9 mm groove in your slats and slot in a sheet of glass. By doing this, you can create as many shelves as you like. It looks great and is the perfect way to make stylish shop shelves, for instance.
Pictures section